| Softener and Point
of Use Filter Loading Media Guide.
1) Upon arrival, immediately
inspect equipment. Without delay, contact shipper if there are any damaged
or missing packages.
2) Read and understand all
instructions prior to star.
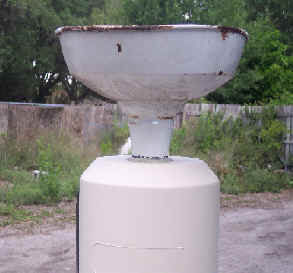
3) Place the Mineral Tank (
typically a fiberglass wrapped plastic tank with a small threaded opening
on top) on a dry flat surface with plenty of clearance in every direction.
4)Confirm that the Distributor
Assembly is undamaged and centered in the mineral tank. Many tanks have a
centering spot in the bottom that will allow the Distributor Assembly to
fall into the proper position.
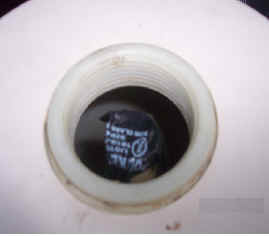
5)The inside of the Distributor
should be covered with a tapered rubber plug. If it is not there, simply
cover the Distributor so that nothing will go into the pipe when pouring
the media. Tape is often used for this purpose.
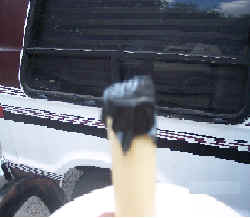
6)Using the Funnel supplied with
the equipment, pour small amount of the first media. Some units may have
one type of media, others more than one. If there is more than one media,
the bags should be clearly marked, but if you are not sure about the
loading order, please contact us. Check that the distributor is still in
the correct position. Continue to pour the remainder of the media into the
tank, stopping frequently to confirm the proper position of the
distributor. Failure to adhere to this procedure may result in the
distributor being lifted out of the proper position and requiring the tank
to be emptied and the process started again from the beginning.
7)If there is more than one media,
pour each subsequent type of media into the tank following the guidelines
in the previous section for checking the proper distributor position.
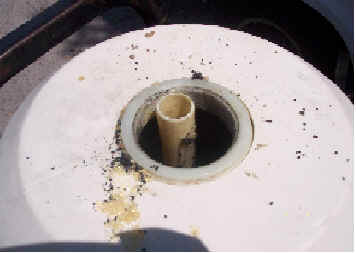
8)Removed whatever was used
to cover the Distributor Pipe, The pipe should be clean and centered in
the tank opening.
9)Make sure the top of the Mineral
Tank is flat and clean. Lubricate and wipe with water the o-ring on the
bottom of the Control Valve (or Tank head). Be careful not to cross thread
the unit. By holding the valve level with the tank and slowly turning it
counter-clockwise, the valve will simply fall into the proper starting
position. Then the valve can easily be turned in a clock-wise direction,
making sure it remains level, until tightened. Firmly hand tighten.
You are now ready to complete the
installation. Follow the included instructions and contact us with any
questions.
|